Non-Asbestos Composite Gaskets
Flange Installation
In addition to choosing the correct gasketing material, proper installation is crucial to ensure a leak free BFJA (Bolt Flange Joint Assembly). Most commonly, when there are leaks in a flange, it is assumed that it is due to a “gasket failure” however, that is rarely the case. The vast majority of the time, leakage occurs as a result of improper installation. Follow these basic guidelines when installing a gasket in a BFJA:
1) Properly inspect the gasket to ensure it is in good condition. The dimensions should be verified including the I.D., O.D., Bolt pattern (if applicable), and the thickness of the gasket. A visual inspection of the flange sealing surface should also be done to ensure it is free of any debris, lubricants and/or defects. All fasteners should meet the requirements including material, length, thread pitch and nut thickness. Lubricants should not be used to temporarily hold a gasket in place.
2) Align the gasket properly to be concentric with the flange ID and avoid protrusion into piping flow path, ensure gasket remains in proper place during assembly and that flanges are properly aligned and parallel to each other.
3) Bolts must be tightened in incremental steps to arrive at the target stress level using a properly calibrated load control device such as a torque wrench, or a stud tensioner. During the incremental torqueing steps, it is good practice to measure the flange gap at a minimum of four points at 90 degrees to each other around the flange OD at each step to assure even loading.
**UIP strongly encourages the reader to reference FSA/ESA document (FSA0009) FSA/ESA . Gasket Installation Procedures
How to Bolt Flanges
Bolting should be of sufficient strength to achieve proper compression of the gasket, to not only seal the joint, but to maintain the seal without exceeding the yield strength of the bolts being used. Torque values are based on using ASTM A193 Grade B7 studs and 2H heavy hex nuts lubricated with never seize. Since sheet gasket materials have micropores, they must be sufficiently compressed to reduce porosity. Without adequate compression the system pressure can force the contained fluid into the gasket and degrade it. Therefore, when installing the gasket it is important that good technique be followed including cleaning the flanges, inspecting the flange face and the bolts and bringing the flanges together parallel and in stages. Many field problems arise from improperly installed gaskets. According to the Fluid Sealing Association (FSA,) incorrect tightness is the leading reason gasketed joints fail. This can be prevented by following good bolting practice.
TORQUE
After installing a new gasket or seal it’s essential to tighten the fasteners with a torque wrench that’s been recently calibrated. Without this it’s impossible to know if the joint has been tightened to the required level. Friction between the nut, washers, flange faces and thread increases the torque measured at the wrench, possibly resulting in insufficient clamping force being applied to the gasket. Avoid this by applying a thin, uniform coating of high quality lubricant to the underside of bolt heads, nuts and washers and the thread itself. Take care to keep it off the gasket.
GASKET COMPRESSION
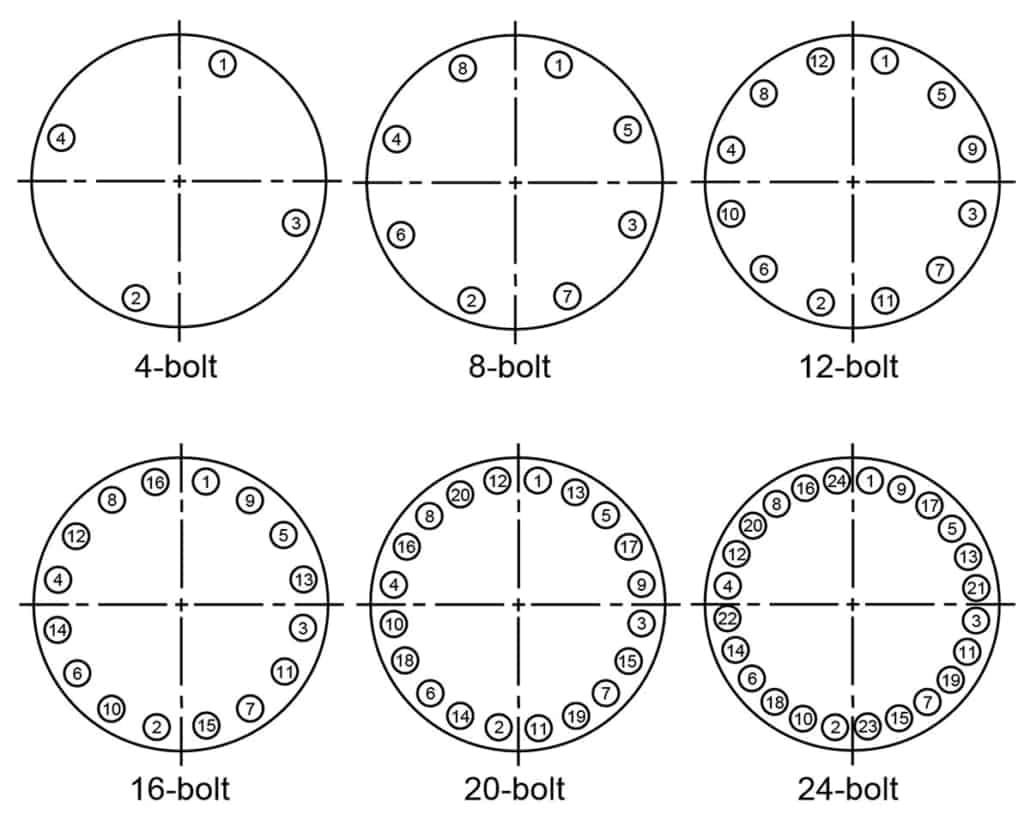
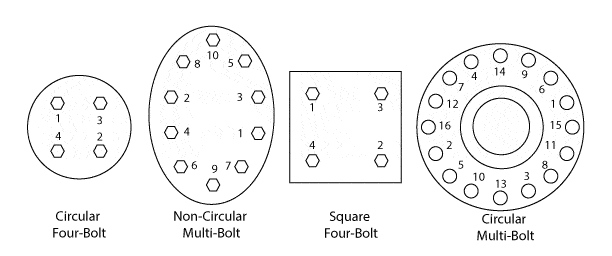
The gasket must be compressed uniformly to avoid material displacement. It’s also important to avoid deforming the flange faces. There are two aspects to consider: the bolt pattern and the tightening sequence.
BOLT PATTERN
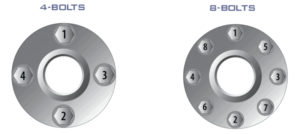
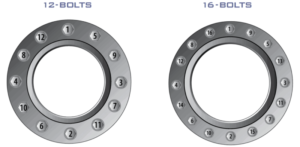
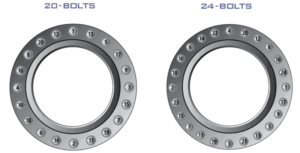
To bring the joint together, fasteners should be tightened in opposite pairs. Start at 12 o’clock and then move to 6 o’clock. Then halve the angle between them, moving to the 3 and 9 o’clock pair. Halve the angle again, going to the pair closest to 1:30 and 7:30. Keep repeating until every bolt has been tightened.
TIGHTENING SEQUENCE
Following the pattern described above, insert the bolts and run up the nuts by hand.
Set the torque wrench to 30% of full torque and, using the pattern, tighten each fastener.
Repeat with the torque wrench at 60%.
Repeat again with the torque wrench at 100%.
Make a final pass, this time in a circumferential direction, ensuring each fastener is at the required torque.
GOOD BOLTING PRACTICE
Replacing gaskets and seals can be expensive, so whenever joints are made in pipes and ducting it’s important to ensure they don’t leak. One factor in achieving a good joint is to follow good bolting practice. Control the torque applied, the bolting pattern and the tightening sequence to avoid leaks.

